DE
DE  BG
BG  IT
IT  GR
GR 

 Operation:
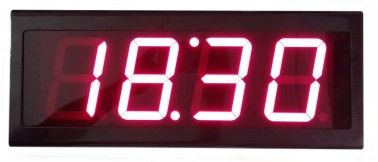
The LED Timer can also display the time and date when not used as a timer. Optionally it can show temperature or humidity. It can also have GPS synchronization to synchronize its clock with the GPS system for very high precision.
|
Number
|
Time
|
Date
|
Temperature
|
|
1
|
ON
|
OFF
|
OFF
|
|
2
|
OFF
|
ON
|
OFF
|
|
3
|
ON
|
ON
|
OFF
|
|
4
|
OFF
|
OFF
|
ON
|
|
5
|
ON
|
OFF
|
ON
|
|
6
|
OFF
|
ON
|
ON
|
|
7
|
ON
|
ON
|
ON
|
Menu: You can choose which information you want to display when the stopwatch is not timing, by pressing the [menu] key. Immediately F1 is displayed and one digit flashes. As you can see in the adjacent table, each digit from 1 to 7 matches a combination of displays.
Then press the same [menu] key again and F2 will be displayed. Here you can select the rotation rhythm of information from 1 to 9 seconds (for how long the display will show any information).
The next two functions of the [menu] refer to the operation of the GPS sychronization, where you can see if the GPS receiver is working properly. If you receive data you will see the index increase one unit per second.
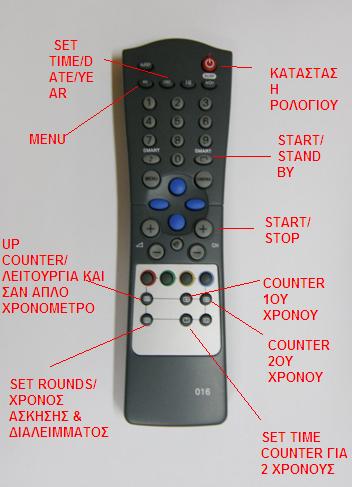
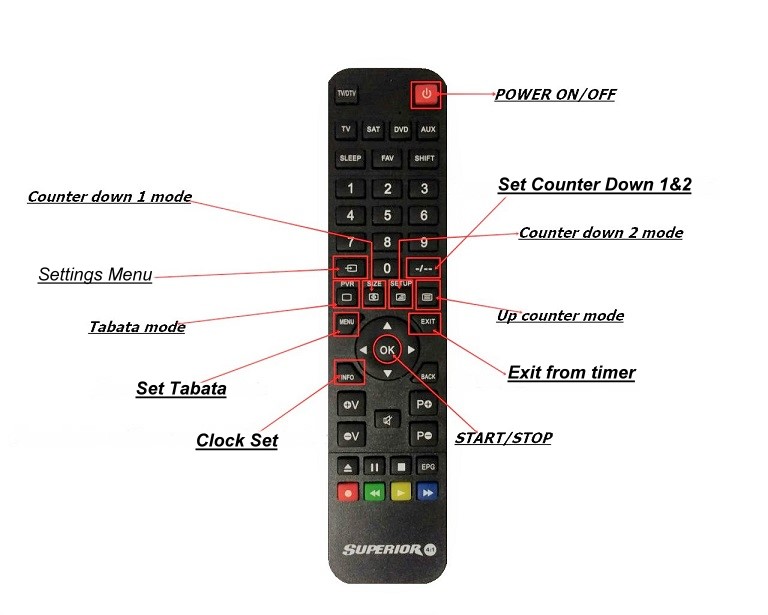
Countdown preselection: Press the Counter Down key: To preset the Time to Countdown. The display and setting is done sequentially. First time, then minutes. After entering 4 numbers consecutively, immediately press Counter Down again to enter the setting in the permanent memory. Whenever you want, you can change the countadown srart time again.
Timer Mode: There are 2 timing modes. Up Counter - normal timer which starts with the Up Counter and Counter Down key - Reverse timer starting at the default time that starts by pressing the Down button. Timing starts only when you press the CH+ key. Also, you can stop (freeze) the time and resume timing by pressing the same key. At each start, pause or end of the timing, the audible alert / horn of the device sounds. You should be aware that the time begins to count as soon as the sound of the horn stops and also, finishes when the sound of the horn starts.
Set Time Counter: Selection of 2 times: To select the 1st time, press the button with the "Counter Down 1" indication (see picture) and then the Ch + key. To select the 2nd time, press the "Counter Down 2" (see picture) and then the Ch + key.
Reset: By chosing Reset, the Stopwatch returns to the Clock / Time / Date mode.
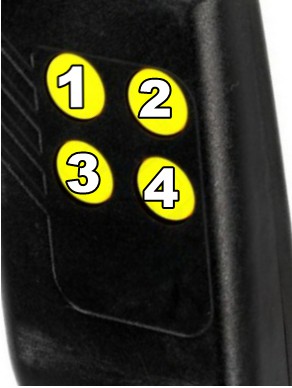 |
Long range Remote control FunctionsButton 1: Start/Stop Button 2: Up counter Button 3: Reset / Exit Button 4: Counter down |
Special additional Functions
* In the picture below, you can see the indications of the remote control 016 that is used alternately..